Setting Up a Heat Lamp Clamp

Setting up a heat lamp clamp is crucial for providing targeted heating and lighting, whether for reptiles, plants, or specific work areas. It involves selecting the right clamp, positioning it correctly, and ensuring safety to prevent accidents. In this guide, we will explore the step-by-step process, including choosing the appropriate bulb wattage, securing the clamp, and adjusting the height and angle for optimal heat and light distribution. By following these instructions, you can create a safe and effective heating and lighting solution tailored to your unique requirements.
Choosing the Right Heat Lamp Clamp
Types of Clamps
When it comes to choosing the right heat lamp clamp, it's essential to consider the different types available on the market. The most common types of clamps include spring clamps, screw clamps, and magnetic clamps.
- Spring Clamps: Easy to use and provide a strong grip, making them suitable for securing heat lamps in various settings.
- Screw Clamps: Offer a more adjustable and secure fit, making them ideal for situations where the position of the heat lamp needs to be frequently adjusted.
- Magnetic Clamps: Convenient option for metal surfaces, as they can be easily attached and removed without the need for additional tools.
Each type of clamp has its own advantages, so it's important to assess the specific requirements of your heat lamp setup before making a decision.
Factors to Consider
When selecting a heat lamp clamp, there are several important factors to take into account.
-
Material of the Clamp: Stainless steel clamps are durable and resistant to corrosion, making them suitable for use in humid or outdoor environments. For indoor use, plastic clamps may be a more cost-effective option, as they provide sufficient strength and are lightweight.
-
Size and Weight Capacity: Choose a clamp that can securely support the weight of the heat lamp without any risk of slipping or detachment. Additionally, ensure the size of the clamp is compatible with the diameter of the heat lamp and the surface it will be attached to.
-
Adjustability: Consider the adjustability of the clamp, especially if the position of the heat lamp needs to be frequently modified. Screw clamps offer the most flexibility in terms of adjustability, allowing for precise positioning of the heat lamp.
-
Ease of Installation and Removal: Consider the ease of installation and removal, especially if the heat lamp needs to be relocated or replaced regularly.
-
Safety and Stability: Look for clamps with features such as rubber padding or non-slip surfaces to ensure that the heat lamp remains securely in place without causing damage to the surface it's attached to. Additionally, consider the potential for heat resistance, especially if the heat lamp will be used in close proximity to flammable materials.
Choosing the right heat lamp clamp involves evaluating the types of clamps available and considering various factors such as material, size, adjustability, ease of installation, and safety features. By carefully assessing these factors, you can select a heat lamp clamp that meets the specific requirements of your setup, ensuring the safe and effective operation of your heat lamp.
Setting Up the Heat Lamp Clamp
Gathering Necessary Tools
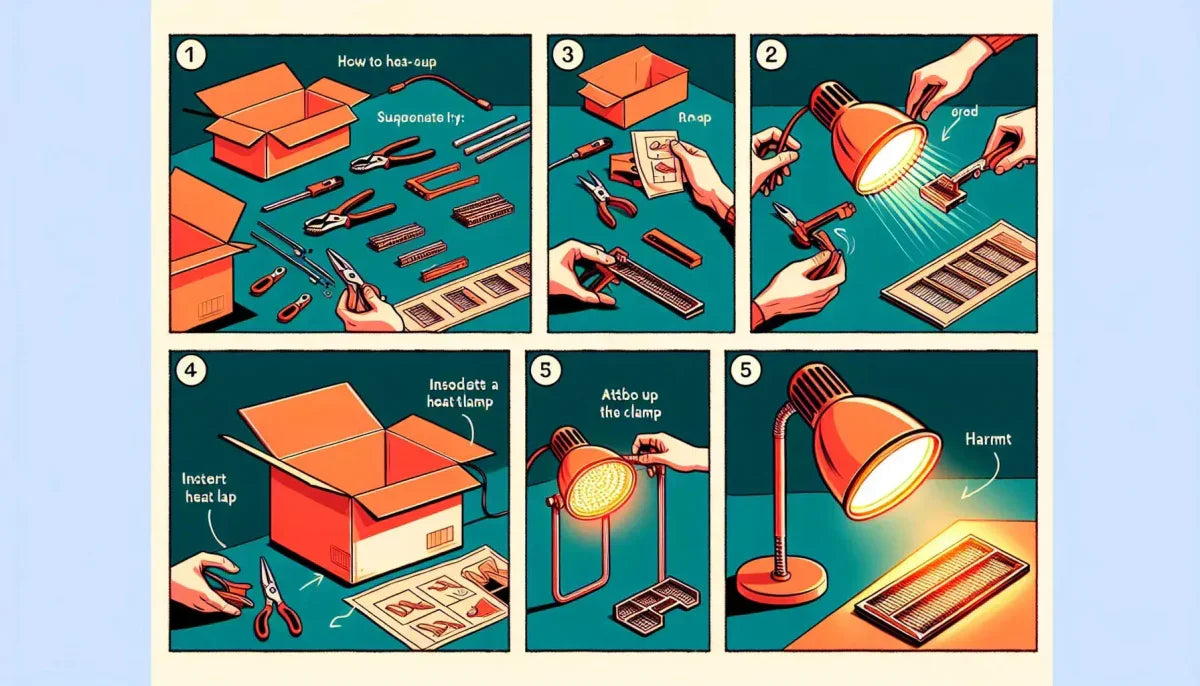
Before you begin setting up your heat lamp clamp, gather all the necessary tools and materials. You will need the following items:.
- Heat lamp clamp
- Heat lamp bulb
- Screwdriver
- Pliers
- Protective gloves
- Ladder or step stool (if necessary)
- Electrical tape
- Optional: Ceiling hook or mounting hardware
Ensure that you have all these tools and materials readily available before starting the installation process. This will help streamline the setup and prevent any unnecessary delays.
Step-by-Step Installation Guide
Now that you have all the necessary tools and materials, proceed with the step-by-step installation of the heat lamp clamp. Follow these instructions carefully to ensure a safe and effective setup:.
Step 1: Turn Off Power
Before you begin, turn off the power to the area where you will be installing the heat lamp. This will prevent any electrical accidents during the installation process. If you're unsure about how to do this, consult a qualified electrician for assistance.
Step 2: Position the Clamp
Determine the ideal location for the heat lamp clamp. It should be positioned in a way that provides optimal heat distribution while ensuring safety. Use a ladder or step stool if necessary to reach the installation area. Once you've identified the spot, position the clamp securely.
Step 3: Secure the Clamp
Using a screwdriver, tighten the clamp securely in place. Ensure that it is stable and can support the weight of the heat lamp. If you're using a ceiling hook or mounting hardware, follow the manufacturer's instructions for proper installation.
Step 4: Install the Heat Lamp Bulb
Carefully insert the heat lamp bulb into the clamp, following the manufacturer's guidelines. Use protective gloves to handle the bulb and avoid direct contact with the hot surface. Make sure the bulb is securely in place before proceeding.
Step 5: Connect the Wiring
If the heat lamp requires wiring, carefully connect it to the power source following the manufacturer's instructions. Use electrical tape to secure any exposed wires and prevent potential hazards. If you're unsure about the wiring process, seek professional assistance.
Step 6: Test the Heat Lamp
Once the installation is complete, turn on the power and test the heat lamp to ensure it is functioning properly. Check for any signs of overheating or instability. If everything looks good, you've successfully set up your heat lamp clamp!.
By following these steps and taking the necessary precautions, you can safely and effectively set up a heat lamp clamp in your desired location. Always prioritize safety and consult professionals if you encounter any challenges during the installation process.
Safety Precautions
Fire Safety Measures
When it comes to fire safety, it's crucial to be proactive and prepared. Start by ensuring that your home or workplace is equipped with functioning smoke detectors on every floor. Test these alarms monthly and replace the batteries at least once a year. Additionally, create a fire escape plan and practice it with your family or colleagues. Make sure everyone knows the designated meeting spot outside the building in case of a fire. Keep fire extinguishers in accessible locations and ensure that everyone knows how to use them. It's also important to be mindful of potential fire hazards, such as overloaded electrical outlets, unattended candles, or flammable materials near heat sources. By taking these precautions, you can significantly reduce the risk of fire-related incidents.
Preventing Overheating
Overheating can pose serious risks, especially during the hot summer months. To prevent overheating, it's essential to keep indoor spaces well-ventilated and maintain a comfortable temperature. If you're using portable heaters or fans, make sure they are in good working condition and placed in safe locations. Keep an eye on elderly individuals and young children, as they are more susceptible to heat-related illnesses. Stay hydrated and avoid prolonged exposure to high temperatures. When outdoors, seek shade and wear lightweight, breathable clothing. Never leave children or pets unattended in vehicles, as temperatures inside can quickly reach dangerous levels. By staying mindful of these preventative measures, you can minimize the risk of overheating and its associated health concerns.
Conclusion
Setting up a heat lamp clamp is essential for creating a comfortable and safe environment for reptiles. By following the steps outlined in this blog, reptile owners can ensure that their pets receive the necessary warmth and light. For those in need of a reliable heat lamp clamp, the Zilla Basking Platform Filter Small available at [relevant_url_information] is a great option. Its features and benefits make it a valuable addition to any reptile habitat. Take the next step in providing the best care for your reptile by checking out the Zilla Basking Platform Filter Small at [relevant_url].


